
旧Parse.comからの移行ではなく新規に環境を作ることを前提にします。
あまり日本語のリソースがなかったので備忘録的な、、、
目次
はじめに
Github、Herokuのアカウントを用意して下さい。
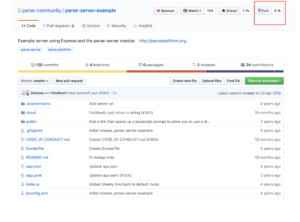
githubにてparse server exampleをフォークする
githubにてparse server exampleをフォークする
https://github.com/parse-community/parse-server-example
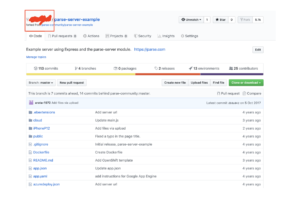
フォークするとユーザー名が変わります。

フォークするとユーザー名が変わります。
任意の名前でプロジェクトを作りmLabを追加する

先ほどフォークしたgithubのプロジェクトとherokuを紐付ける

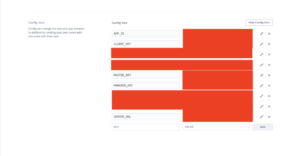
APP_ID、CLIENT_KEY、MASTER_KEY、SERVER_URLに任意の値をつける。この値はのちにgithubやアプリ内で使用します。
またSERVER_URLの値には注意が必要。
プロジェクト作成時に
https://XXX.herokuapp.comが作成されますがhttps://XXX.herokuapp.com/parseをSERVER_URLに指定します。

parse server exampleのindex.jsを編集する
githubのindex.jsに先ほどの任意の値を設定する。iosとAndroidの設定はプッシュ通知で使用しますが今回は割愛します。
var api = new ParseServer({

   databaseURI: databaseUri || 'mongodb://XXXXX',

   cloud: process.env.CLOUD_CODE_MAIN || __dirname + '/cloud/main.js',

   appId: process.env.APP_ID || 'XXXXX',

   masterKey: process.env.MASTER_KEY || 'XXXXX', //Add your master key here. Keep it secret!

   serverURL: process.env.SERVER_URL || 'https://XXX.herokuapp.com/parse',  // Don't forget to change to https if needed

   liveQuery: {

     classNames: ["Posts", "Comments"] // List of classes to support for query subscriptions

   },

   // 以下為新增部分

   push: {

     // 此篇未提到 Android,因此註解掉

     android: {

       senderId: 'XXXX',

       apiKey: 'XXXX'

     },

     ios: {

       pfx:  __dirname + '/iPhoneP12/XXXXXX.p12', // 與 index.js 目錄同層

       bundleId: 'XXXXXX', // 填入先前填的 Bundle ID

       production: true // false: development, true: production

     }

   }

 });
Herokuでデプロイする、ひとまずサーバー側の設定はこれで終わり。


Parse DashboardをPC上にセットアップ
Parse DashboardをPC上にセットアップ
git clone git@github.com:ParsePlatform/parse-dashboard.git

cd parse-dashboard

npm install
インストールが終わったらこれをターミナルで実行
/Users/XXXXX/parse-dashboard/bin/parse-dashboard --allowInsecureHTTP true; exit;
これが出たら”The dashboard is now available at http://0.0.0.0:4040/”
/Users/XXXXX/parse-dashboard/Parse-Dashboard/parse-dashboard-config.jsonを編集してサーバーと連携させる。
またパスワードも設定ができる。
{
     "apps": [
         {
             "serverURL": "https://XXXXX.herokuapp.com/parse",
             "appId": "XXXXX",
             "masterKey": "XXXXX",
             "appName": "XXXXX",
             "production": true
         }],
     "users": [
         {
             "user": "hage",
             "pass": "hage"
         },
         {
             "user": "XXXXX",
             "pass": "XXXXX"
         }
     ]
 }